(and a bonus on an inexpensive home-made rustic cement birdbath)

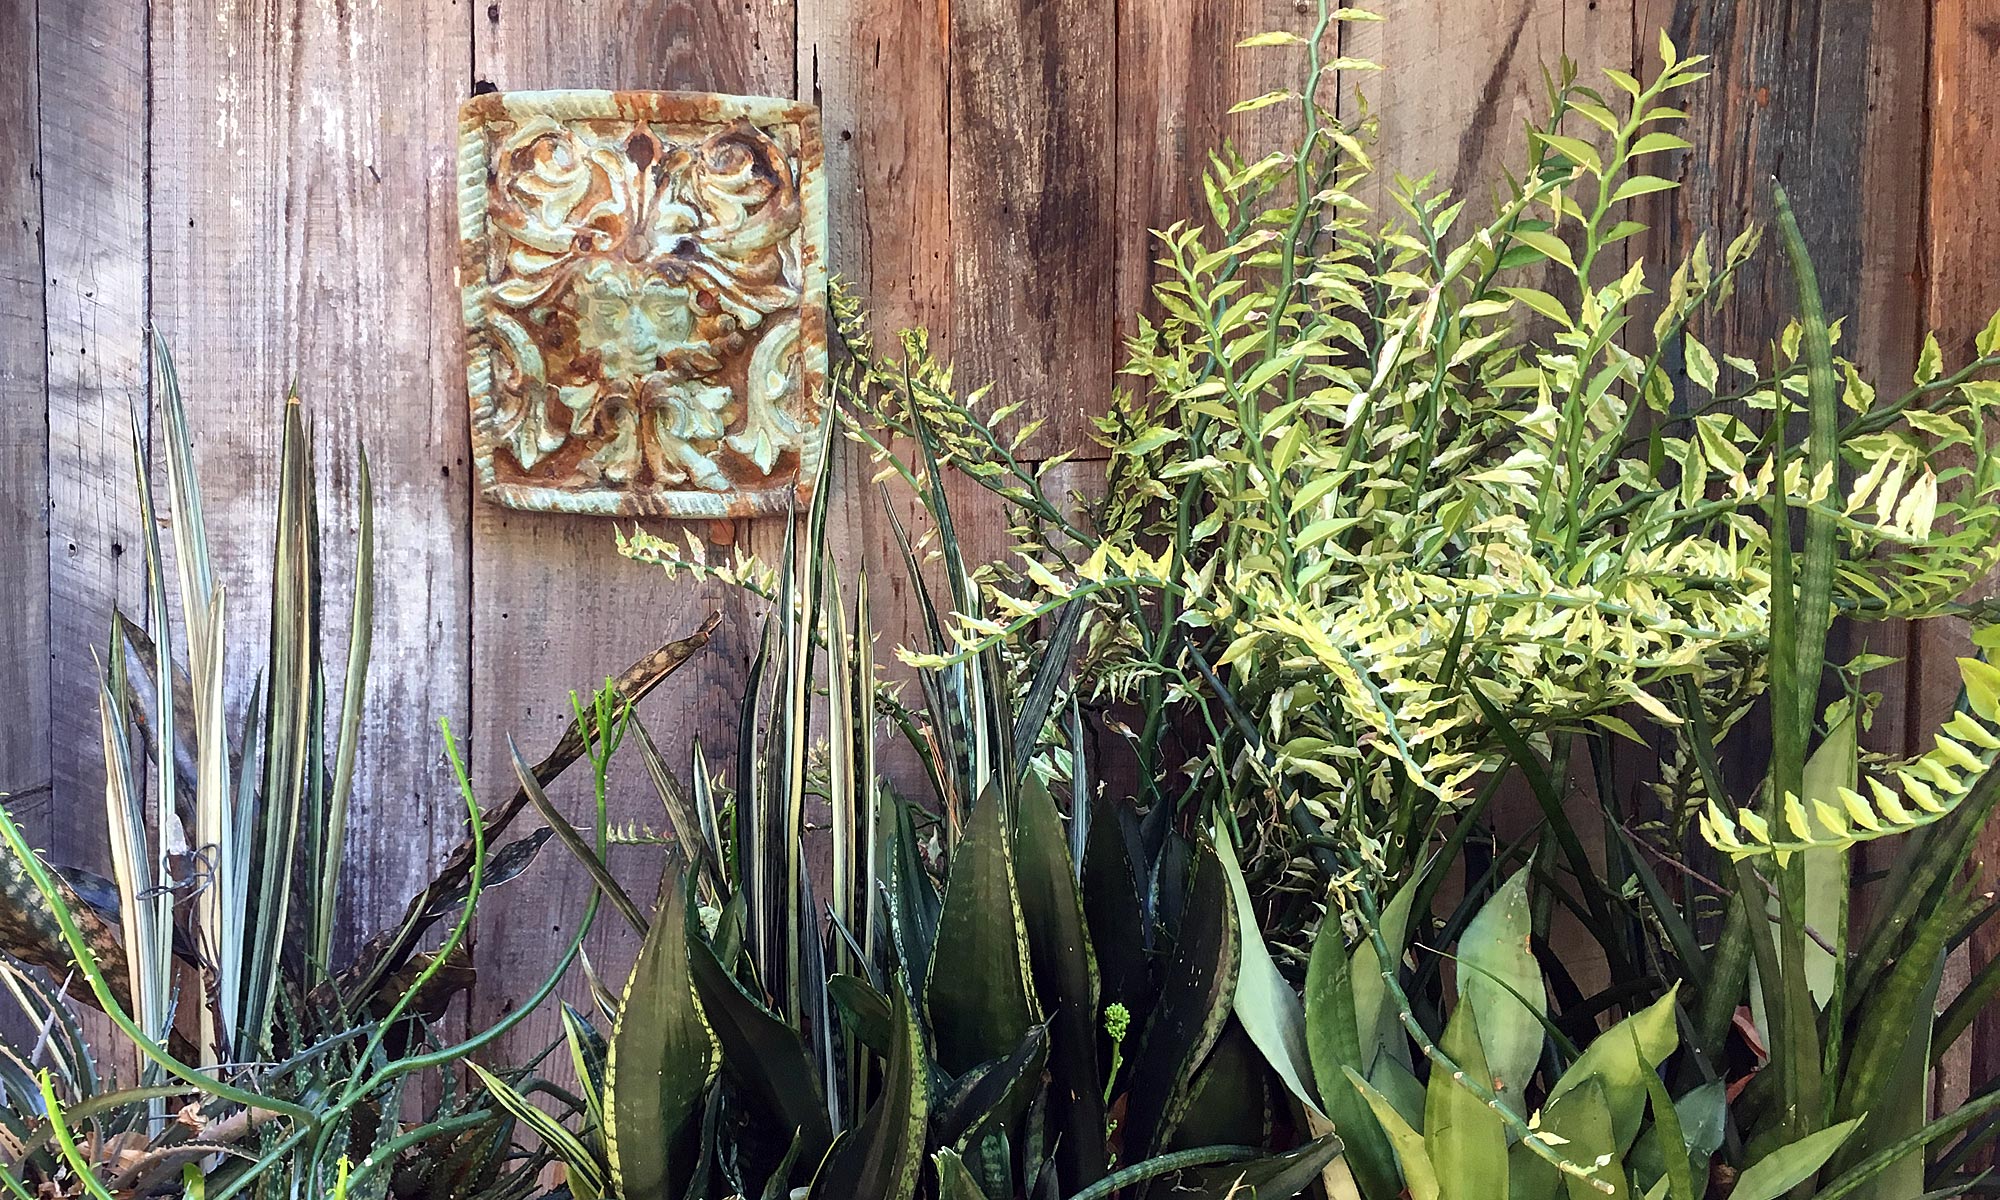
This old guy is done moving heavy planters around – especially the stoneware in which my hardy cacti and succulents look great – and I can’t afford real tufa, which is a naturally-porous limestone that can be easily carved into slow-draining planting troughs. So I finally got around to making a lightweight faux stone trough out of an old hippy recipe called hypertufa.
While it certainly looks like aged stone, hypertufa is a hardened mix of readily-available ingredients that can be pressed over a pot-shaped form, easy to move around and can stay out all year.
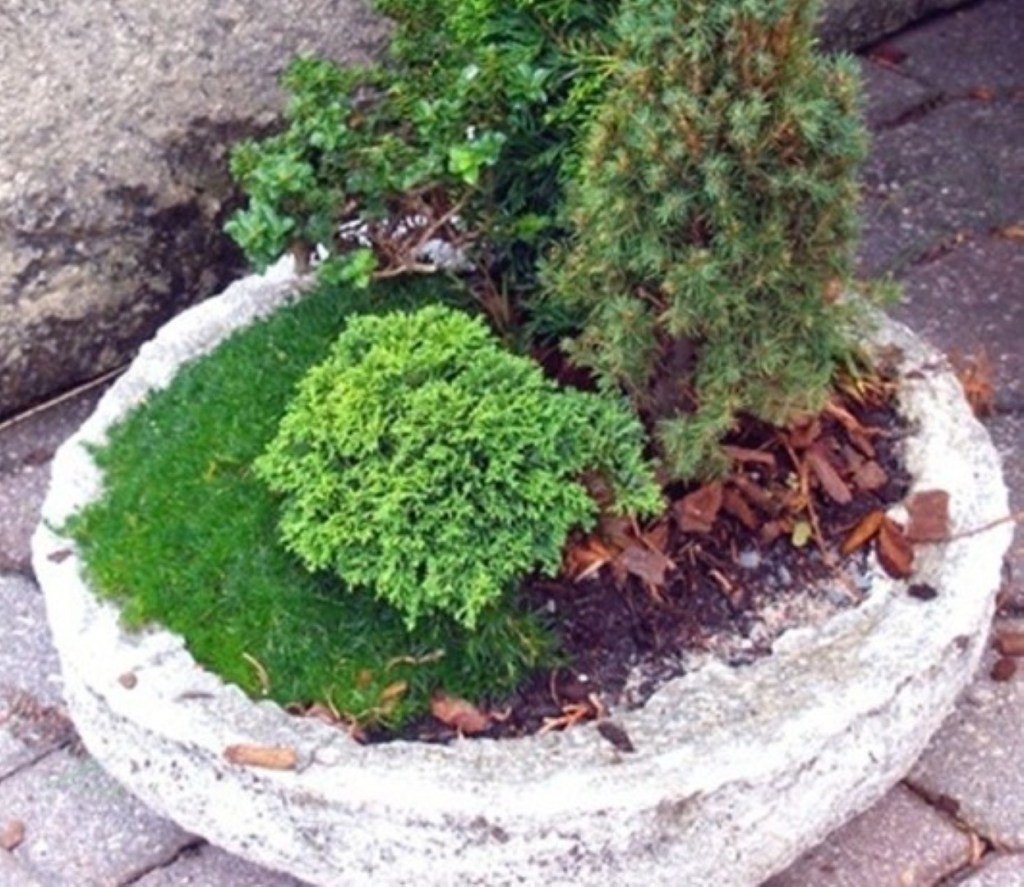

My first attempt here took just a couple of hours and turned out pretty well, if I say so myself. Here is my step-by-step.

Ingredients
- Portland cement
- Real Canadian peat moss (CAN use coconut coir)
- Perlite or vermiculite
- Small amount of concrete reinforcing fibers (small bags in store cement section)
- Water


Materials
- Mixing bucket
- Trowel
- Plastic food wrap
- Rubber gloves (yes!)
- A form (upside down pot, bowl, plastic or wood box, shaped pile of dirt, etc.)
Process
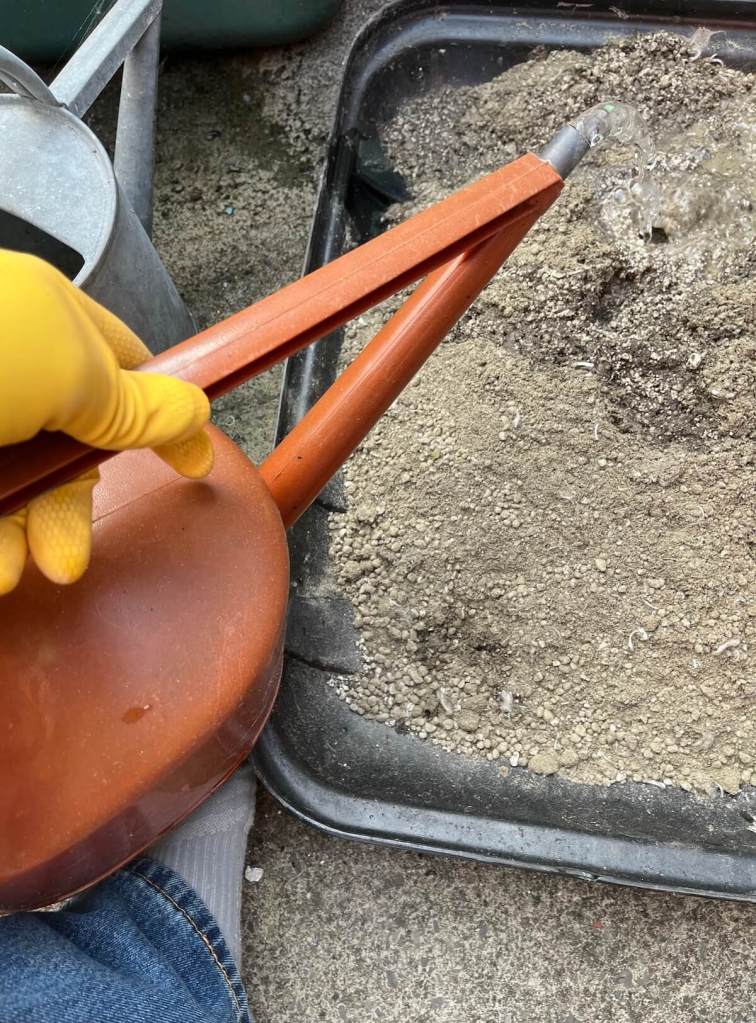
- Place the form on a plastic sheet, and cover with food wrap to keep mix from sticking on
- Mix dry ingredients in equal parts, plus a handful of fluffed up concrete reinforcing fiber
- Gradually add water, mixing and patting until the mix is like moist dough – can be made into a ball without falling apart
- Press around the form, starting at the bottom, until it is 1-2 inches thick
- Use your finger or a stick to poke drainage holes
- Cover with plastic for 1-2 days to let the mix dry and get firm
- Uncover, carefully remove from form, open drainage holes, and allow to dry completely another few days. Brush off rough edges
- Allow to cure another few days before rinsing a few times to remove dry alkaline residue


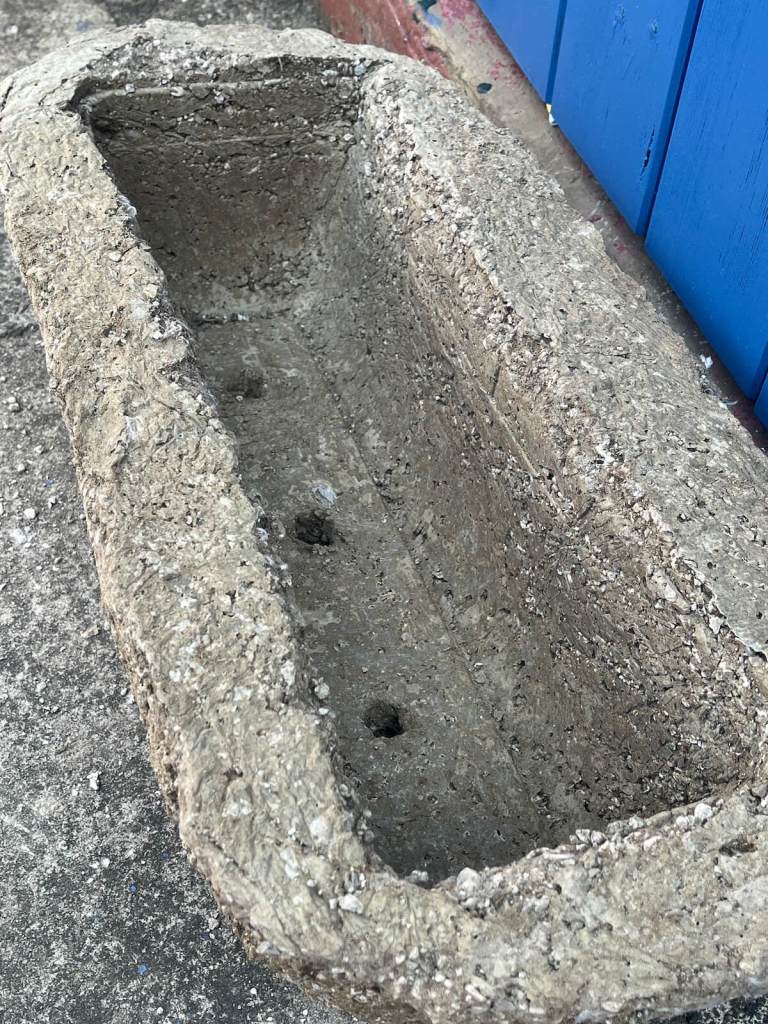
DONE!


BONUS : Inexpensive home-made rustic birdbath
A perfect touch that birds, butterflies, bees, and occasional squirrels actually use!

My cottage garden needed a heavy, rustic bird bath, but I was quickly put off by how much a decent one costs…. So I made one just like my great-grandmother’s, using a single 3-dollar sack of ready-mix concrete.
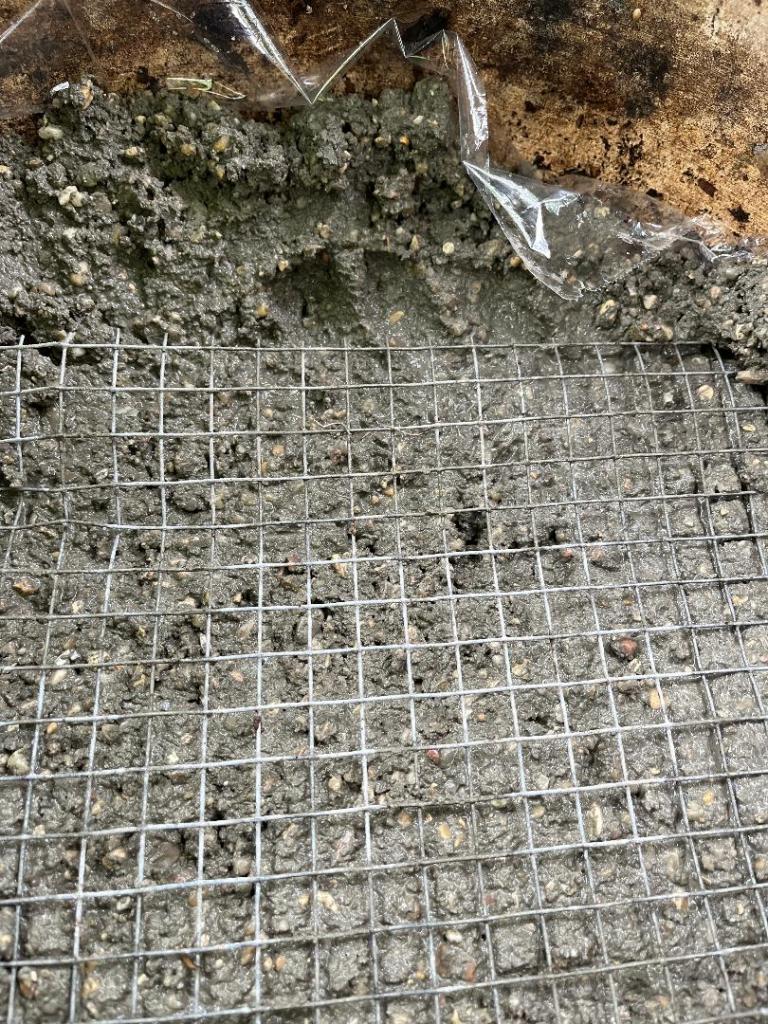
After making a thick paste by gradually working water into the dry concrete mix, I spread it over a low, wide, flat-bottomed pile of garden dirt that was covered with plastic food wrap to keep dirt from sticking to the concrete. Halfway through spreading the concrete I added a piece of hardware cloth to strengthen the finished project. After drying for two days I turned it over, smoothed the rough edges, and hit it with some paint (not enough to be a prob to wildlife) to make it look aged.
It worked so well I added another at the herb garden I curate at the agriculture museum in my hometown.


Looks fantastic! As we say in Maine, a wicked good solution.
LikeLike
Hooray Hypertufa! I used to make troughs and sell the to and at Daniel Stowe Botanical Gardens as Maiden Stone Garden Art.
It was hard work.
Great job here Felder. Glad to hear from you.
LikeLike
What a useful tutorial and a great outcome! I have a small trough but can now have more. Your Perth subscriber…
LikeLike